As a follow-up on the presentation I did at CloudBrew about Azure Static Web Apps I want to write a series of blog posts.
- Part I - Using the VS Code Extension
- Part II - Using the Astro Static Site Generator
- Part III – Deploying to multiple environments
- Part IV – Password protect your environments
- Part V – Traffic splitting
- Part VI – Authentication using pre-configured providers
- Part VII – Application configuration using staticwebapp.config.json
- Part VIII – API Configuration
- Part IX – Injecting snippets
- Part X – Custom authentication
- Part XI(this post) – Authorization
If we talk about authentication, we also have to talk about authorization. Authorization is role based and every user gets at least one role for free: the “anonymous” role. Once you are authenticated, a second role is assigned; the “authenticated” role.
You can see this by browsing to the .auth/me endpoint after authenticating. You’ll get a response back similar to this:
Roles can be assigned to specific routes in the staticwebapps.json.config file:
Remark: Roles are matched on an OR basis. If a user is in any of the listed roles, then access is granted.
Custom roles
These 2 roles are sufficient to get you started but sooner or later you want to assign custom roles. This can be done either through invitations or through an Azure Function(which I’ll show in the next post).
Invitations can be configured and sent from the Azure Portal, using provider-specific email addresses for the user. You get an invite link that can be send to potential users. Users can click on the invite link to login with that custom role assigned automatically.
- Go to your Static Web App in the Azure portal.
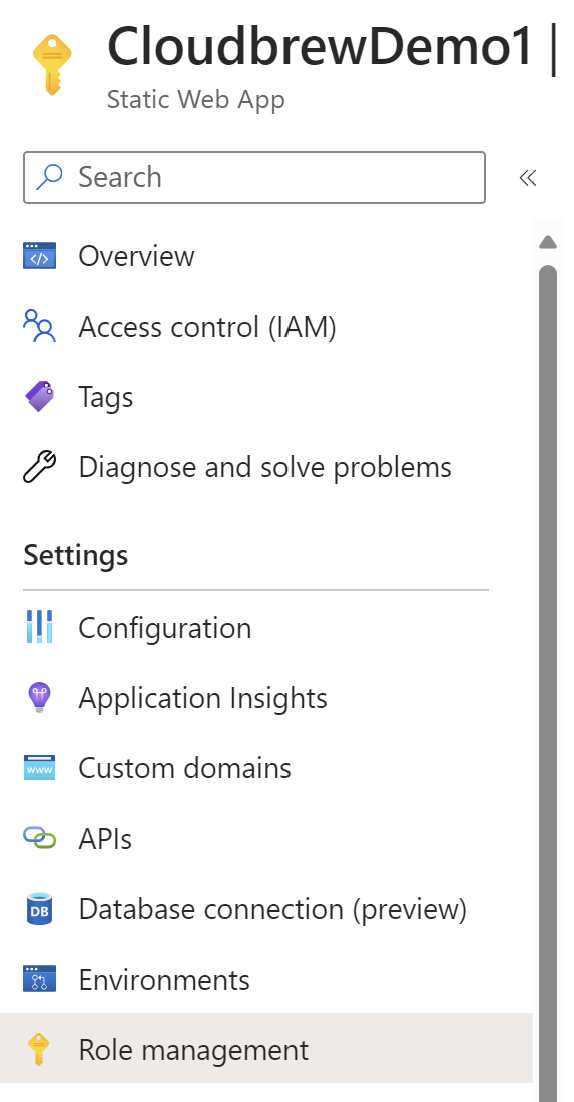
- Click on Role Management.
- Click on the Invite button.
- Now we need to enter a few details
- The built-in Authentication provider we want to use (Github or Azure AD)
- The email address of the user
- The domain name of the Static Web App
- The custom role we ant to assign
- The invitation expiration time(in hours)
- After filling in all the details, click on Generate to generate a link.
And when calling the .auth/me endpoint:


