
RabbitMQ–How to remove unacked messages–Part I

I got a situation where a message remained unacknowledged in a RabbitMQ queue. I wanted the related consumer to stop and remove the message from the queue.

Let me walk you through the steps to get this done.

Through the Management Portal

In this post I’ll show you how to this through the Management Portal, in a later post I’ll show you how to do this from the commandline.

  • Open the RabbitMQ Management Portal. Go to the Queues tab. Notice that in one of my queues I have an ‘Unacked’ message.

  • First we need to find the connection that is related to the application consuming the message. Therefore go to the Connections tab.

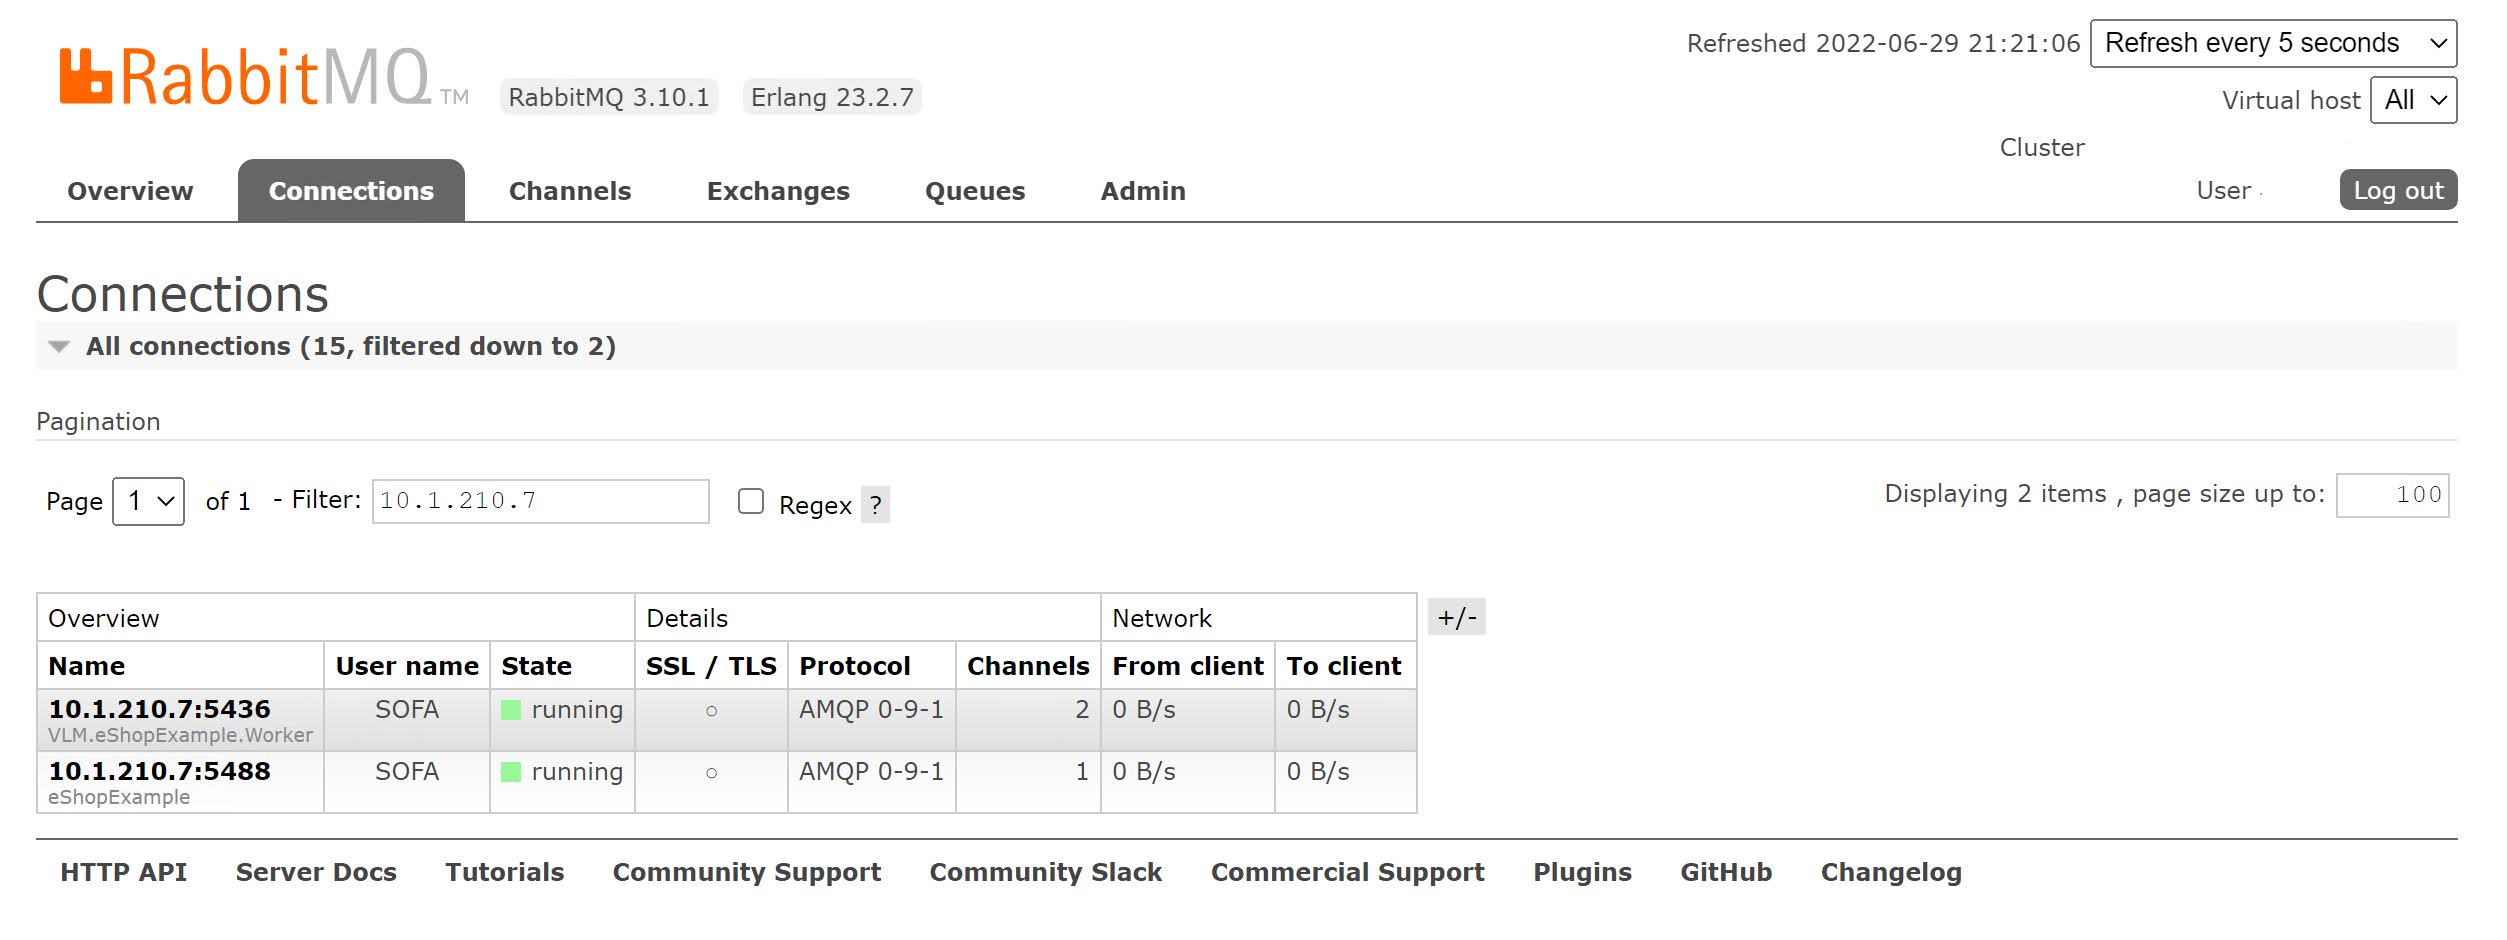
  • Click on the correct connection. Expand the Close this connection section and hit the Force Close button to close the connection and related channels. Click OK when asked for confirmation.

  • Now go back to the Queues tab. Click on the queue with the ‘Unacked’ message. Expand the Purge section and hit the Purge Messages button.
    • If you try to do the Purge Messages without closing the connection first, the message will reappear.

  • The unacked message should be gone.


Popular posts from this blog

DevToys–A swiss army knife for developers

As a developer there are a lot of small tasks you need to do as part of your coding, debugging and testing activities.  DevToys is an offline windows app that tries to help you with these tasks. Instead of using different websites you get a fully offline experience offering help for a large list of tasks. Many tools are available. Here is the current list: Converters JSON <> YAML Timestamp Number Base Cron Parser Encoders / Decoders HTML URL Base64 Text & Image GZip JWT Decoder Formatters JSON SQL XML Generators Hash (MD5, SHA1, SHA256, SHA512) UUID 1 and 4 Lorem Ipsum Checksum Text Escape / Unescape Inspector & Case Converter Regex Tester Text Comparer XML Validator Markdown Preview Graphic Color B

Help! I accidently enabled HSTS–on localhost

I ran into an issue after accidently enabling HSTS for a website on localhost. This was not an issue for the original website that was running in IIS and had a certificate configured. But when I tried to run an Angular app a little bit later on http://localhost:4200 the browser redirected me immediately to https://localhost . Whoops! That was not what I wanted in this case. To fix it, you need to go the network settings of your browser, there are available at: chrome://net-internals/#hsts edge://net-internals/#hsts brave://net-internals/#hsts Enter ‘localhost’ in the domain textbox under the Delete domain security policies section and hit Delete . That should do the trick…

Azure DevOps/ GitHub emoji

I’m really bad at remembering emoji’s. So here is cheat sheet with all emoji’s that can be used in tools that support the github emoji markdown markup: All credits go to rcaviers who created this list.