I'm working on converting an Azure DevOps Release pipeline to a yaml pipeline. In my original Release pipeline I had multiple environments with approvals between every environment. In the 'classic' Release pipeline, this can easily done through the 'Pre-deployment conditions'. Let's find out how we can achieve the same thing through a YAML pipeline.

The manual validation task
Although the second solution I’ll show you is the better way in my opinion, I still want to first mention is the manual validation task. This task allows you to pause the pipeline run and wait for manual approval.

The waitForValidation job pauses the run and triggers a prompt within the Pipeline UI to review and validate the task. The email addresses listed in notifyUsers receive a notification to approve or deny the pipeline run.
More information: https://docs.microsoft.com/en-us/azure/devops/pipelines/release/deploy-using-approvals?view=azure-devops#set-up-manual-validation
Add approvals using Environments
A second (and better way) to introduce approvals is through Environments. To see the available environments, go to your Azure DevOps project and select Environments from the Pipelines section:

You should see a list of existing environments(if any):

Create an environment
You can create environments yourself or if you are using the deployment job in your pipeline, the environment is created for you when you run the pipeline for the first time.
If you don’t have an environment yet, create one by clicking on New environment.
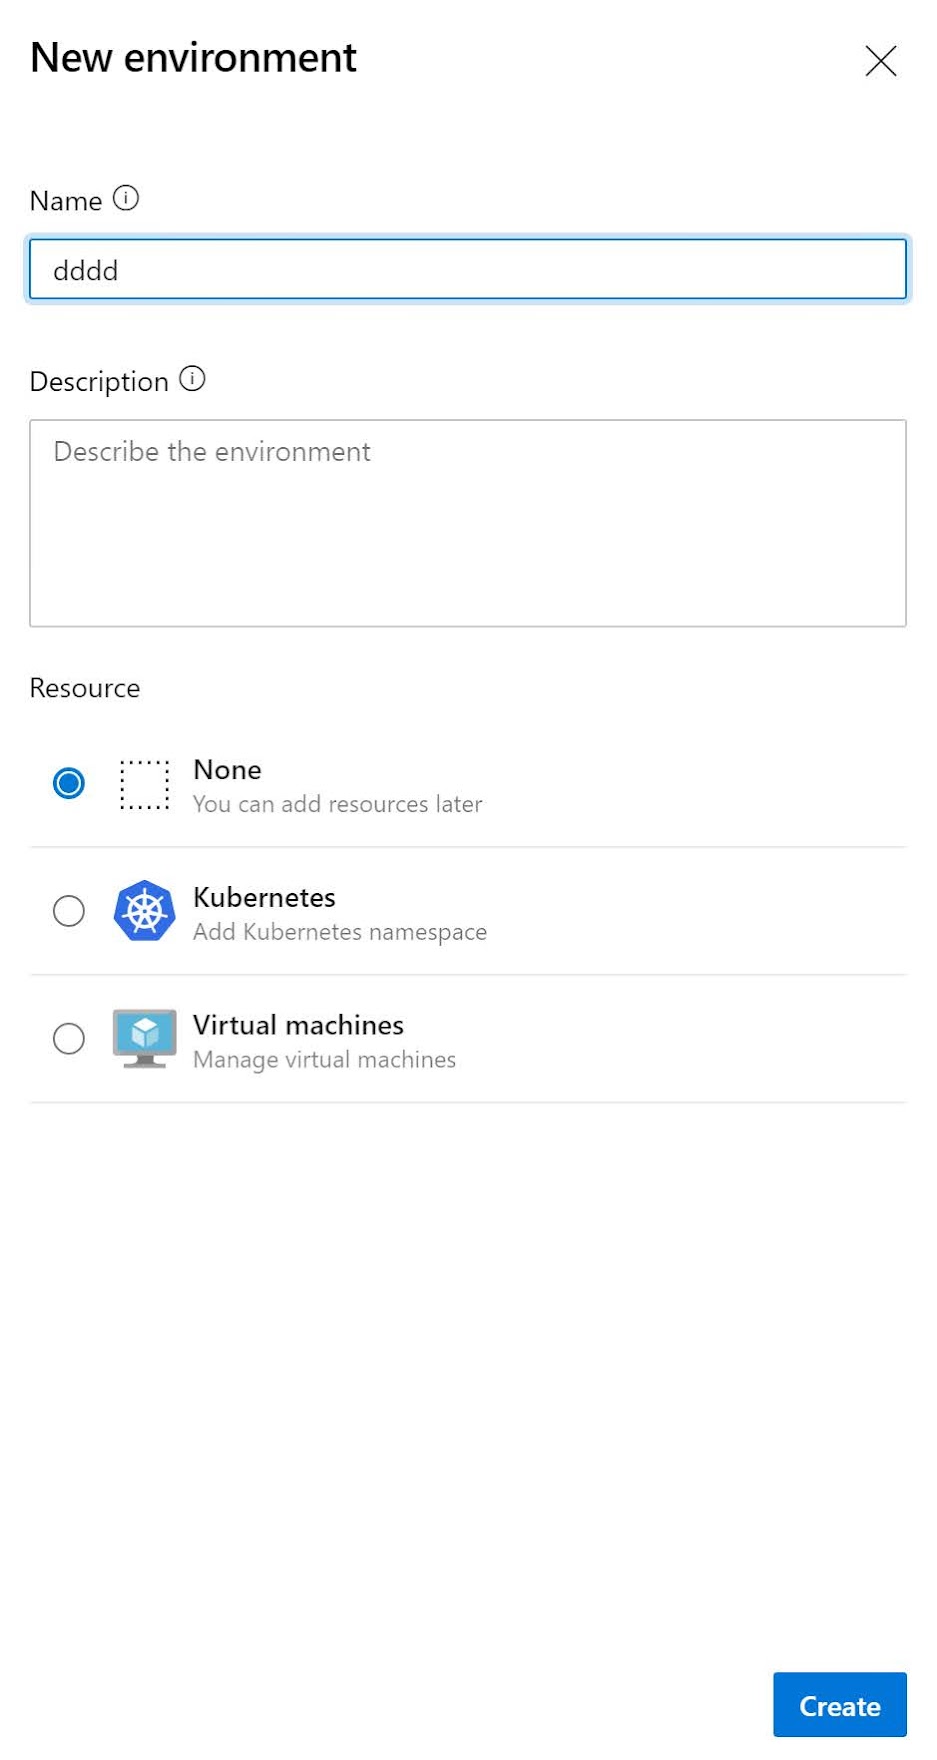
Specify an environment name, select ‘None’ as resource and click on Create.
Configure an approval for an environment
Now that we have our environments, it is time to configure our approvals.
Click on a specific environment in the Environments list.

Click on the three dots on the right side and select Approvals and checks.

On the Approvals and checks page, you can add approvals, branch control, business hours (and more).

Click on the + on the right side, select Approvals and click on Next.

Now we can configure the Approval. I set myself as an approver and allow me to approve my own runs. I leave the timeout at 30 days. Click on Create to complete the configuration process.

A new check is added to the list:

Run the pipeline
If we now run our pipeline, you see that the deployment stops and waits for our approval:

We can now click on Review and Approve to continue the release:
