
Visual Studio –Git line staging

Visual Studio supports staging files from the moment Git support was introduced and most of the time that is sufficient. But sometimes it can be useful to stage chunks of changes in a file instead of a complete file. This feature (also known as interactive staging) was introduced in Visual Studio 2022 v17.2. I never used the feature before so let's see how this works...

Git line staging is still marked as a preview feature but if you are using Visual Studio 2022 v17.2 or higher, it should be enabled by default.

The first thing you should notice when line staging is enabled, is that individual changes are visible in the editor margin. Added, edited or deleted lines are all shown using a different color and annotation:

If we now click on a color margin, an inline Peek Difference view is opened.

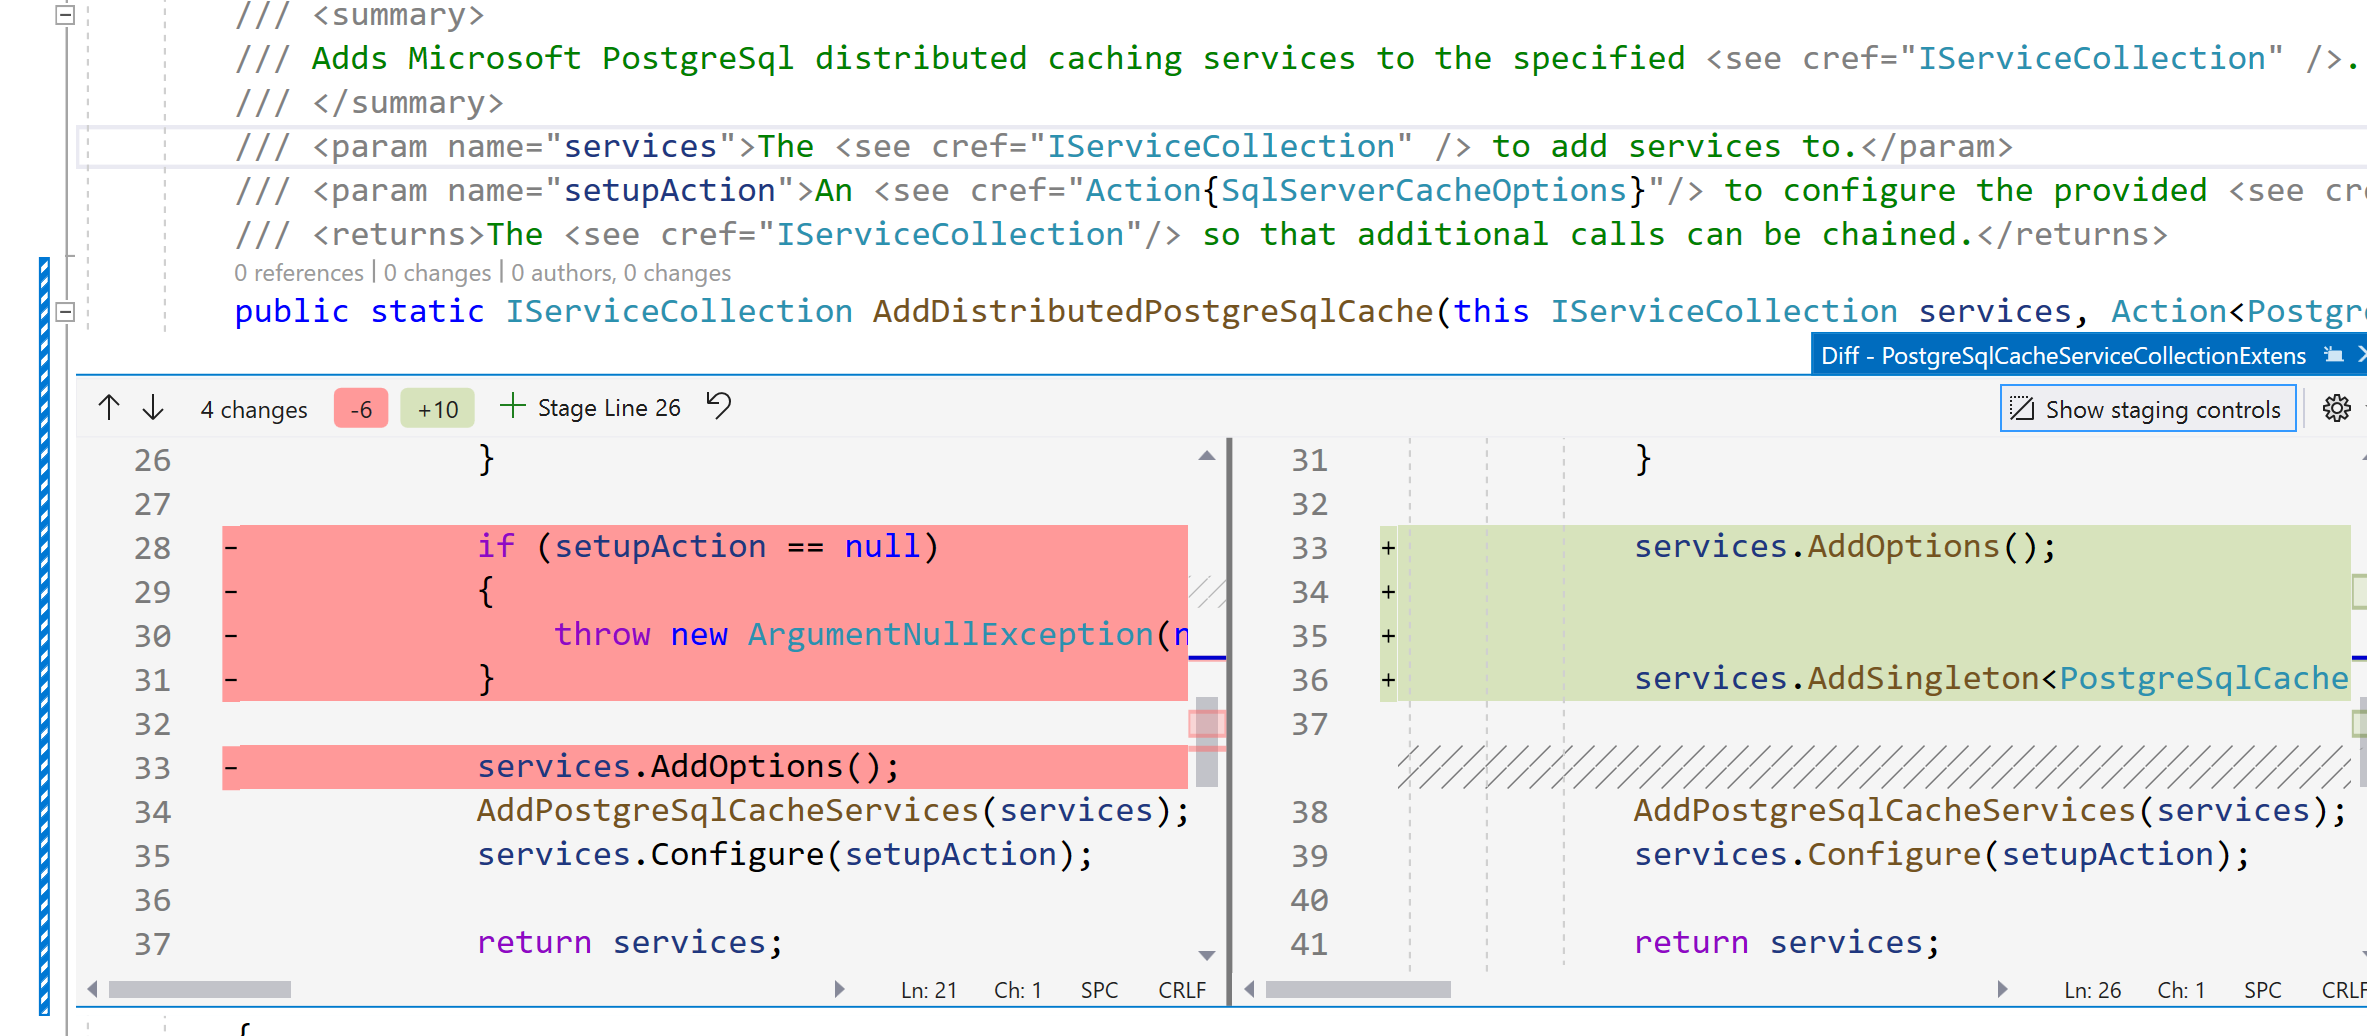
Now you can  stage the selected change by clicking on the + Stage Line <LineNumbers> button:

You can also select one or more lines in the Peek Difference view, right click and choose Git –> Stage selected Range to only stage your selection.

Another option is to go to the Git Staging window and choose Compare with Unmodified:

Here you can hover over a specific change and choose + Stage Change:

If you want to stage a specific line, click on a specific line and choose + Stage Line:

Nice!

Remark: At the moment of writing this post, the Visual Studio 2022 v17.6 preview 1 was released that introduced support for unstaging specific lines.

More information: Line-staging (Interactive Staging) - Visual Studio Blog (microsoft.com)

Popular posts from this blog

XUnit - Assert.Collection

A colleague asked me to take a look at the following code inside a test project: My first guess would be that this code checks that the specified condition(the contains) is true for every element in the list.  This turns out not to be the case. The Assert.Collection expects a list of element inspectors, one for every item in the list. The first inspector is used to check the first item, the second inspector the second item and so on. The number of inspectors should match the number of elements in the list. An example: The behavior I expected could be achieved using the Assert.All method:

Azure DevOps/ GitHub emoji

I’m really bad at remembering emoji’s. So here is cheat sheet with all emoji’s that can be used in tools that support the github emoji markdown markup: All credits go to rcaviers who created this list.

Angular --deploy-url and --base-href

As long you are running your Angular application at a root URL (e.g. www.myangularapp.com ) you don’t need to worry that much about either the ‘--deploy-url’ and ‘--base-href’ parameters. But once you want to serve your Angular application from a server sub folder(e.g. www.mywebsite.com/angularapp ) these parameters become important. --base-href If you deploy your Angular app to a subfolder, the ‘--base-href’ is important to generate the correct routes. This parameter will update the <base href> tag inside the index.html. For example, if the index.html is on the server at /angularapp/index.html , the base href should be set to <base href="/angularapp/"> . More information: https://angular.io/guide/deployment --deploy-url A second parameter that is important is ‘--deploy-url’. This parameter will update the generated url’s for our assets(scripts, css) inside the index.html. To make your assets available at /angularapp/, the deploy url should