
Testing a token protected API using user-jwts

Testing a token-protected API can be a challenge. You need to have an identity and access management solution in place to get a valid access token that can be passed to your API.

.NET 7 makes this whole process easier by introducing a new command line tool; user-jwts. This allows you to generate JSON Web Tokens that can be used during development.

Let me walk you through the steps to use this new tool.

Getting started with user-jwts

I have an existing ASP.NET Core application configured to use JTW Bearer authentication:

I introduce a new endpoint that requires authorization:

Before .NET 7 to be able to test this endpoint, we need to register this API in your IAM solution and log in by providing valid credentials. Not impossible to do, but still a lot of work...

Let’s invoke the user-jwts tool:

dotnet user-jwts create

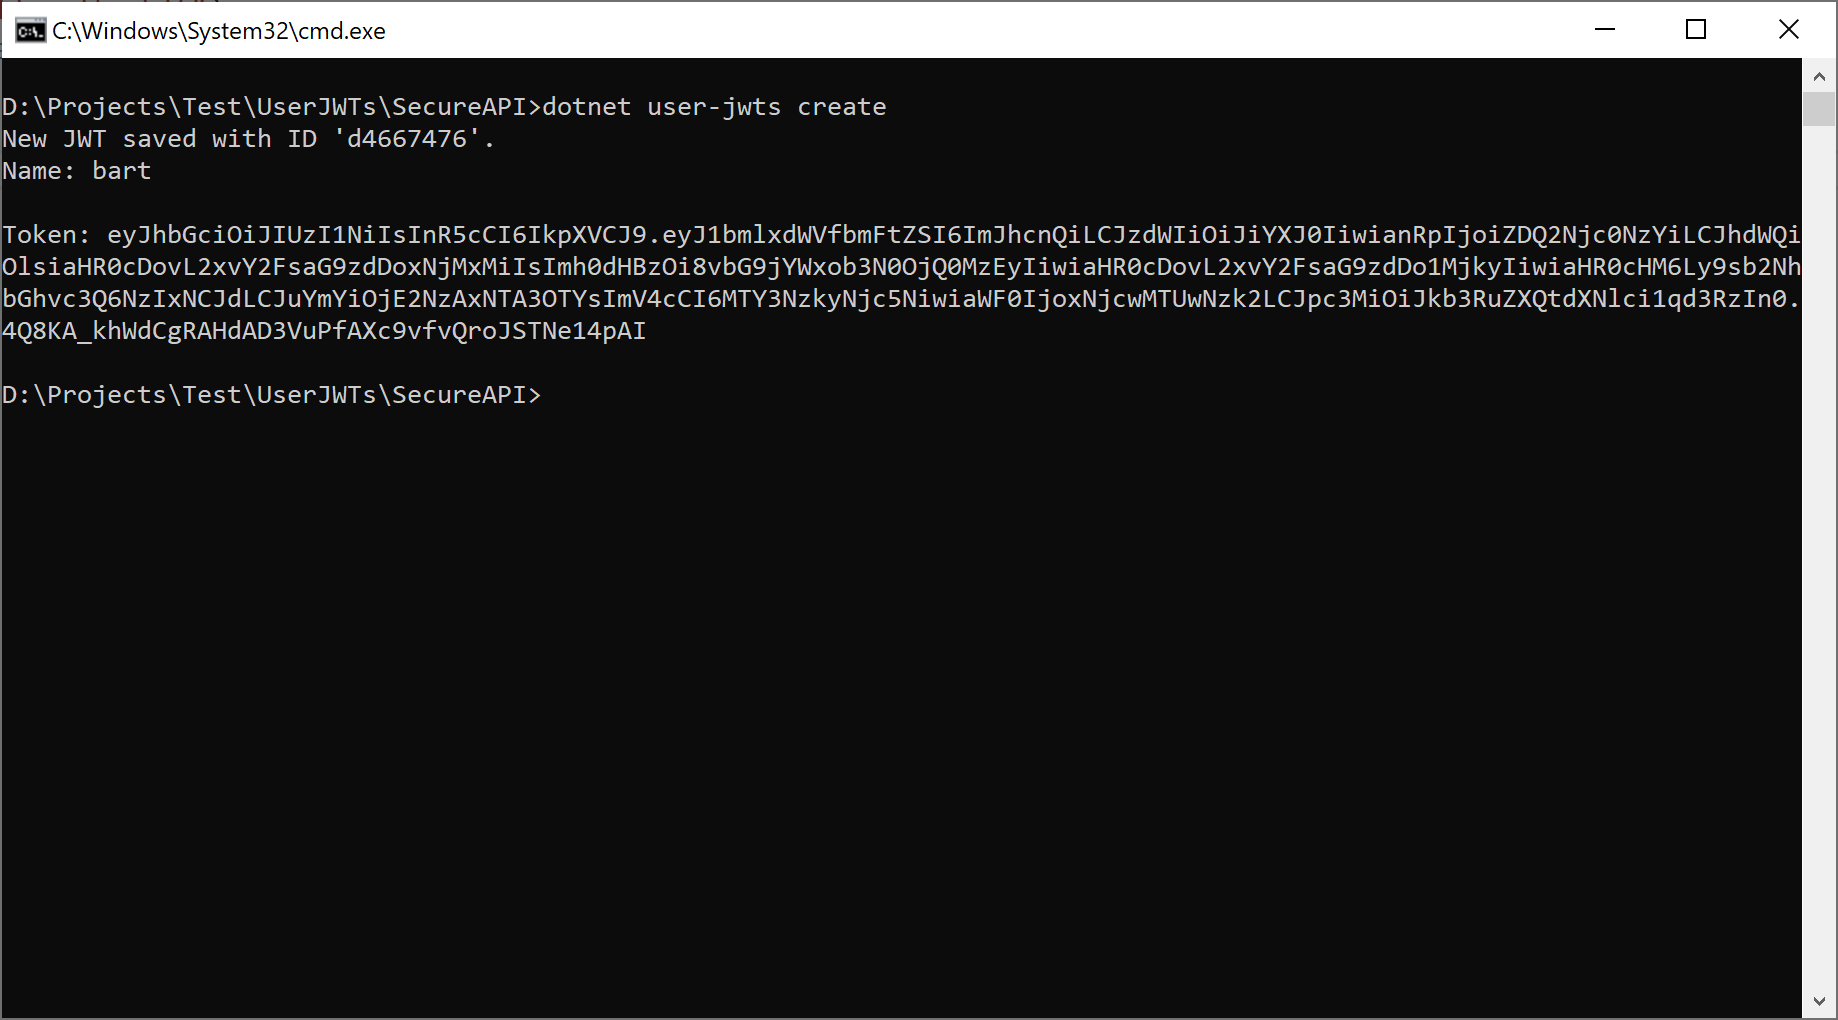
Executing this command will result in the following actions:

  • A JWT token is created and stored as a ‘user secret’ on your local machine.
  • The appsettings.development.json is updated with the necessary configuration details:

Now we can call our API by passing the generated JWT token:

curl -i -H "Authorization: Bearer {token}" https://localhost:7214/secret

If you want to create a token for a specific user and scope, you can do that as well:

dotnet user-jwts create –name Bart --scope "openid" –scope "profile"

You can find the complete example app here: https://github.com/wullemsb/UserJwtsDemo

If you want to learn more, check out the documentation: Generate tokens with dotnet user-jwts | Microsoft Learn

Popular posts from this blog

XUnit - Assert.Collection

A colleague asked me to take a look at the following code inside a test project: My first guess would be that this code checks that the specified condition(the contains) is true for every element in the list.  This turns out not to be the case. The Assert.Collection expects a list of element inspectors, one for every item in the list. The first inspector is used to check the first item, the second inspector the second item and so on. The number of inspectors should match the number of elements in the list. An example: The behavior I expected could be achieved using the Assert.All method:

Azure DevOps/ GitHub emoji

I’m really bad at remembering emoji’s. So here is cheat sheet with all emoji’s that can be used in tools that support the github emoji markdown markup: All credits go to rcaviers who created this list.

Angular --deploy-url and --base-href

As long you are running your Angular application at a root URL (e.g. www.myangularapp.com ) you don’t need to worry that much about either the ‘--deploy-url’ and ‘--base-href’ parameters. But once you want to serve your Angular application from a server sub folder(e.g. www.mywebsite.com/angularapp ) these parameters become important. --base-href If you deploy your Angular app to a subfolder, the ‘--base-href’ is important to generate the correct routes. This parameter will update the <base href> tag inside the index.html. For example, if the index.html is on the server at /angularapp/index.html , the base href should be set to <base href="/angularapp/"> . More information: https://angular.io/guide/deployment --deploy-url A second parameter that is important is ‘--deploy-url’. This parameter will update the generated url’s for our assets(scripts, css) inside the index.html. To make your assets available at /angularapp/, the deploy url should