In my yesterday post, I installed and used a dotnet global tool to generate an SBOM. If you were really paying attention, you maybe noticed that I did something special to install the tool. This is the topic of today's post.
In my original attempt to install the SBOM .NET tool, I used the following task:
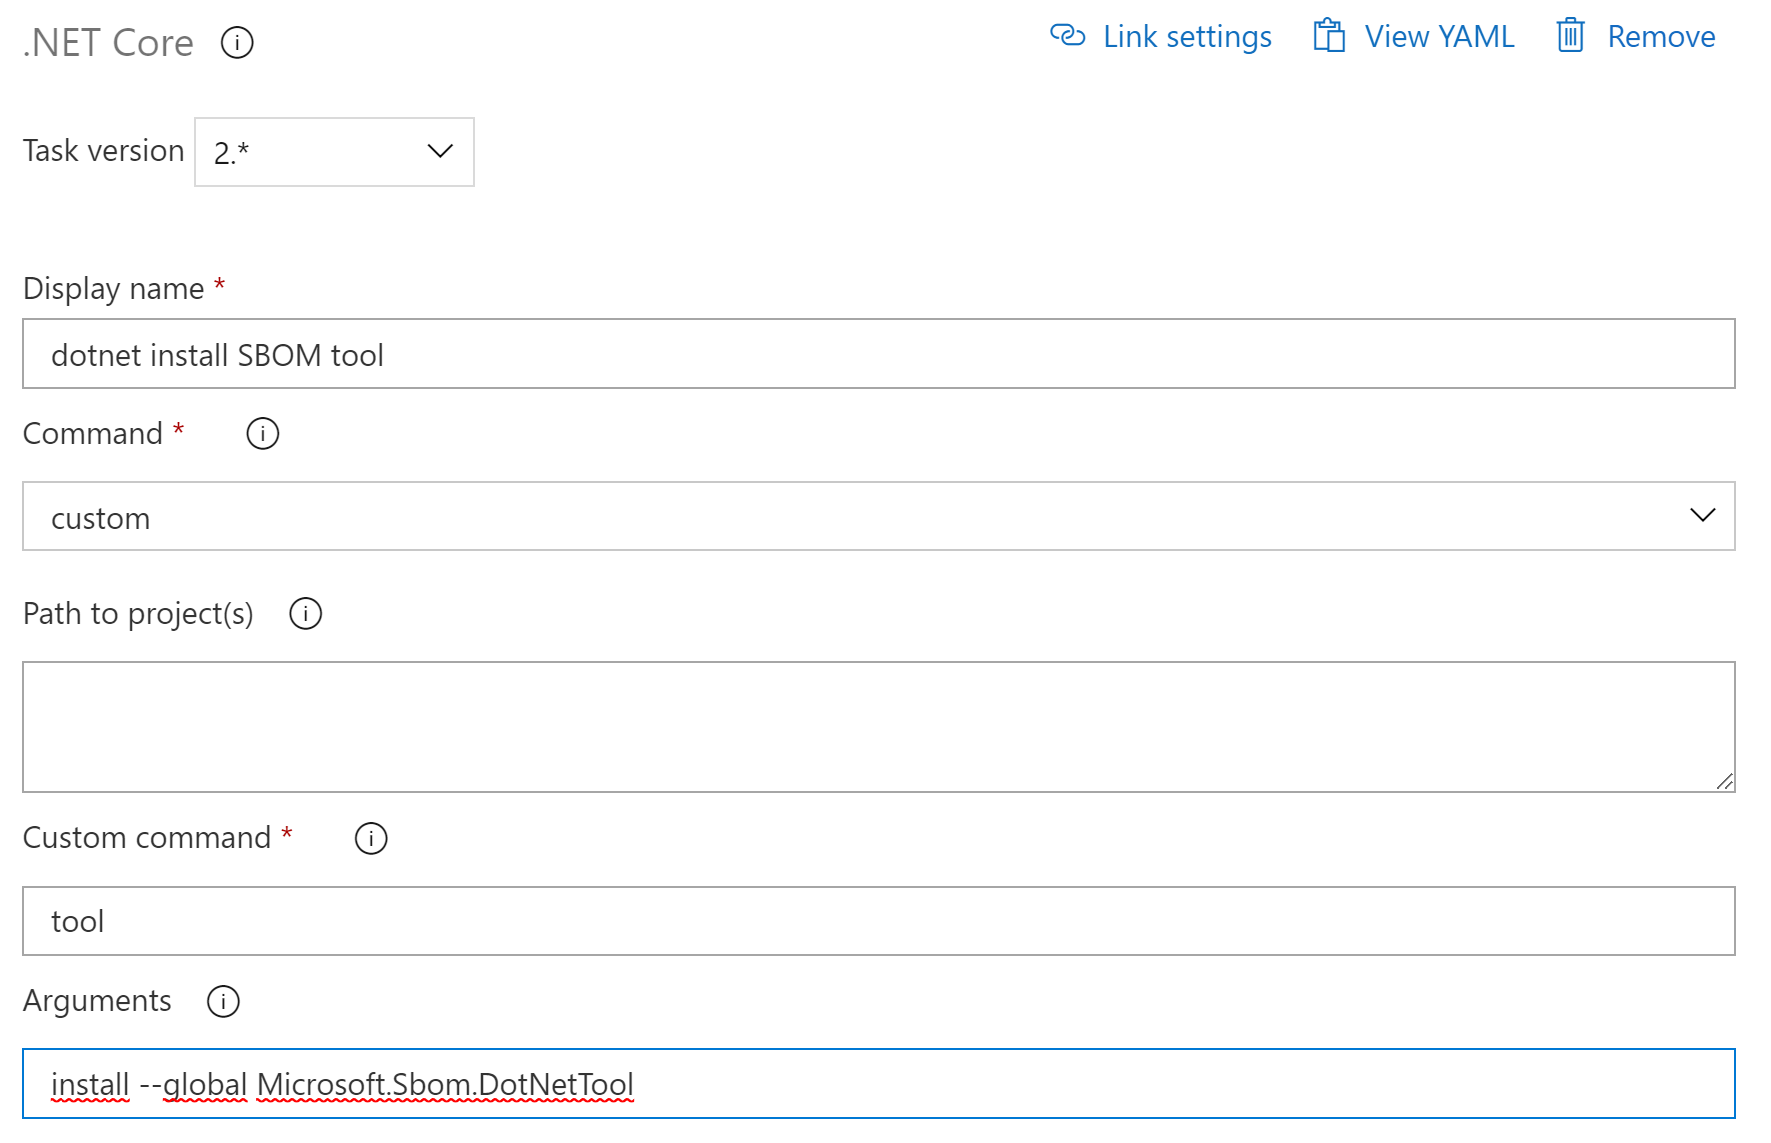
And this is the task I used in the end:

Do you notice the difference?
The difference is in the Arguments section. I originally used the install argument and switched later to an update argument. Let me explain why…
When I executed the original pipeline for a second time, it no longer worked and I got the following error:
Starting: dotnet install SBOM tool
==============================================================================
Task : .NET Core
Description : Build, test, package, or publish a dotnet application, or run a custom dotnet command
Version : 2.174.0
Author : Microsoft Corporation
Help : https://docs.microsoft.com/azure/devops/pipelines/tasks/build/dotnet-core-cli
==============================================================================
C:\Windows\system32\chcp.com 65001
Active code page: 65001
Info: .NET Core SDK/runtime 2.2 and 3.0 are now End of Life(EOL) and have been removed from all hosted agents. If you're using these SDK/runtimes on hosted agents, kindly upgrade to newer versions which are not EOL, or else use UseDotNet task to install the required version.
"C:\Program Files\dotnet\dotnet.exe" tool install --global Microsoft.Sbom.DotNetTool
Tool 'microsoft.sbom.dotnettool' is already installed.
##[error]Error: The process 'C:\Program Files\dotnet\dotnet.exe' failed with exit code 1
Info: Azure Pipelines hosted agents have been updated to contain .Net Core 3.x (3.1) SDK/Runtime along with 2.1. Unless you have locked down a SDK version for your project(s), 3.x SDK might be picked up which might have breaking behavior as compared to previous versions.
Some commonly encountered changes are:
If you're using `Publish` command with -o or --Output argument, you will see that the output folder is now being created at root directory rather than Project File's directory. To learn about more such changes and troubleshoot, refer here: https://docs.microsoft.com/en-us/azure/devops/pipelines/tasks/build/dotnet-core-cli?view=azure-devops#troubleshooting
##[error]Dotnet command failed with non-zero exit code on the following projects :
Finishing: dotnet install SBOM tool
.NET doesn’t like it when you run the dotnet install --global command when a tool is already installed. I couldn’t find a good solution to skip the task if the global tool is already there. In the end I decided to use a workaround and switch to the update command which also works when the tool is not installed yet.
Remark: If you have a lot of pipelines running in parallel using this command, it could still result in an error as the global tool doesn’t like it when multiple update commands are being executed at the same time.