When I‘m coding, I'm assisted today by Github Copilot. And although Github does a lot of effort to keep your data private, not every organisation allows to use it. If you are working for such an organisation, does this mean that you cannot use an AI code assistant?
Luckily, the answer is no. In this post I’ll show you how to combine Continue, an open-source AI code assistent with Ollama to run a fully local Code Assistant. Keep reading…
Note: This post is part of a bigger series. Check out the other posts here:
- Part 1 – Introduction
- Part 2 - Configuration
- Part 3 – Editing and Actions
- Part 4 - Learning from your codebase
- Part 5 – Read your documentation
- Part 6 – Troubleshooting
What is Continue?
Continue is an open-source AI code assistant that can be easily integrated in popular IDEs like like VS Code and JetBrains, providing custom autocomplete and chat experiences.
It offers features you expect from most code assistants like autocomplete, code explanation, chat, refactoring, ask questions about your code base and more and all of this based the AI model of your choice.
Installing and configuring Continue in VSCode
As mentioned in the intro you can integrate in both VS Code and JetBrains IDEs like Rider or IntelliJ. In this post I’ll use VSCode as an example but I welcome you to check the documentation if you want to use it in your favorite JetBrains IDE.
- Open VSCode and click on Extensions in the sidebar:
- Search for Continue and click on Install:
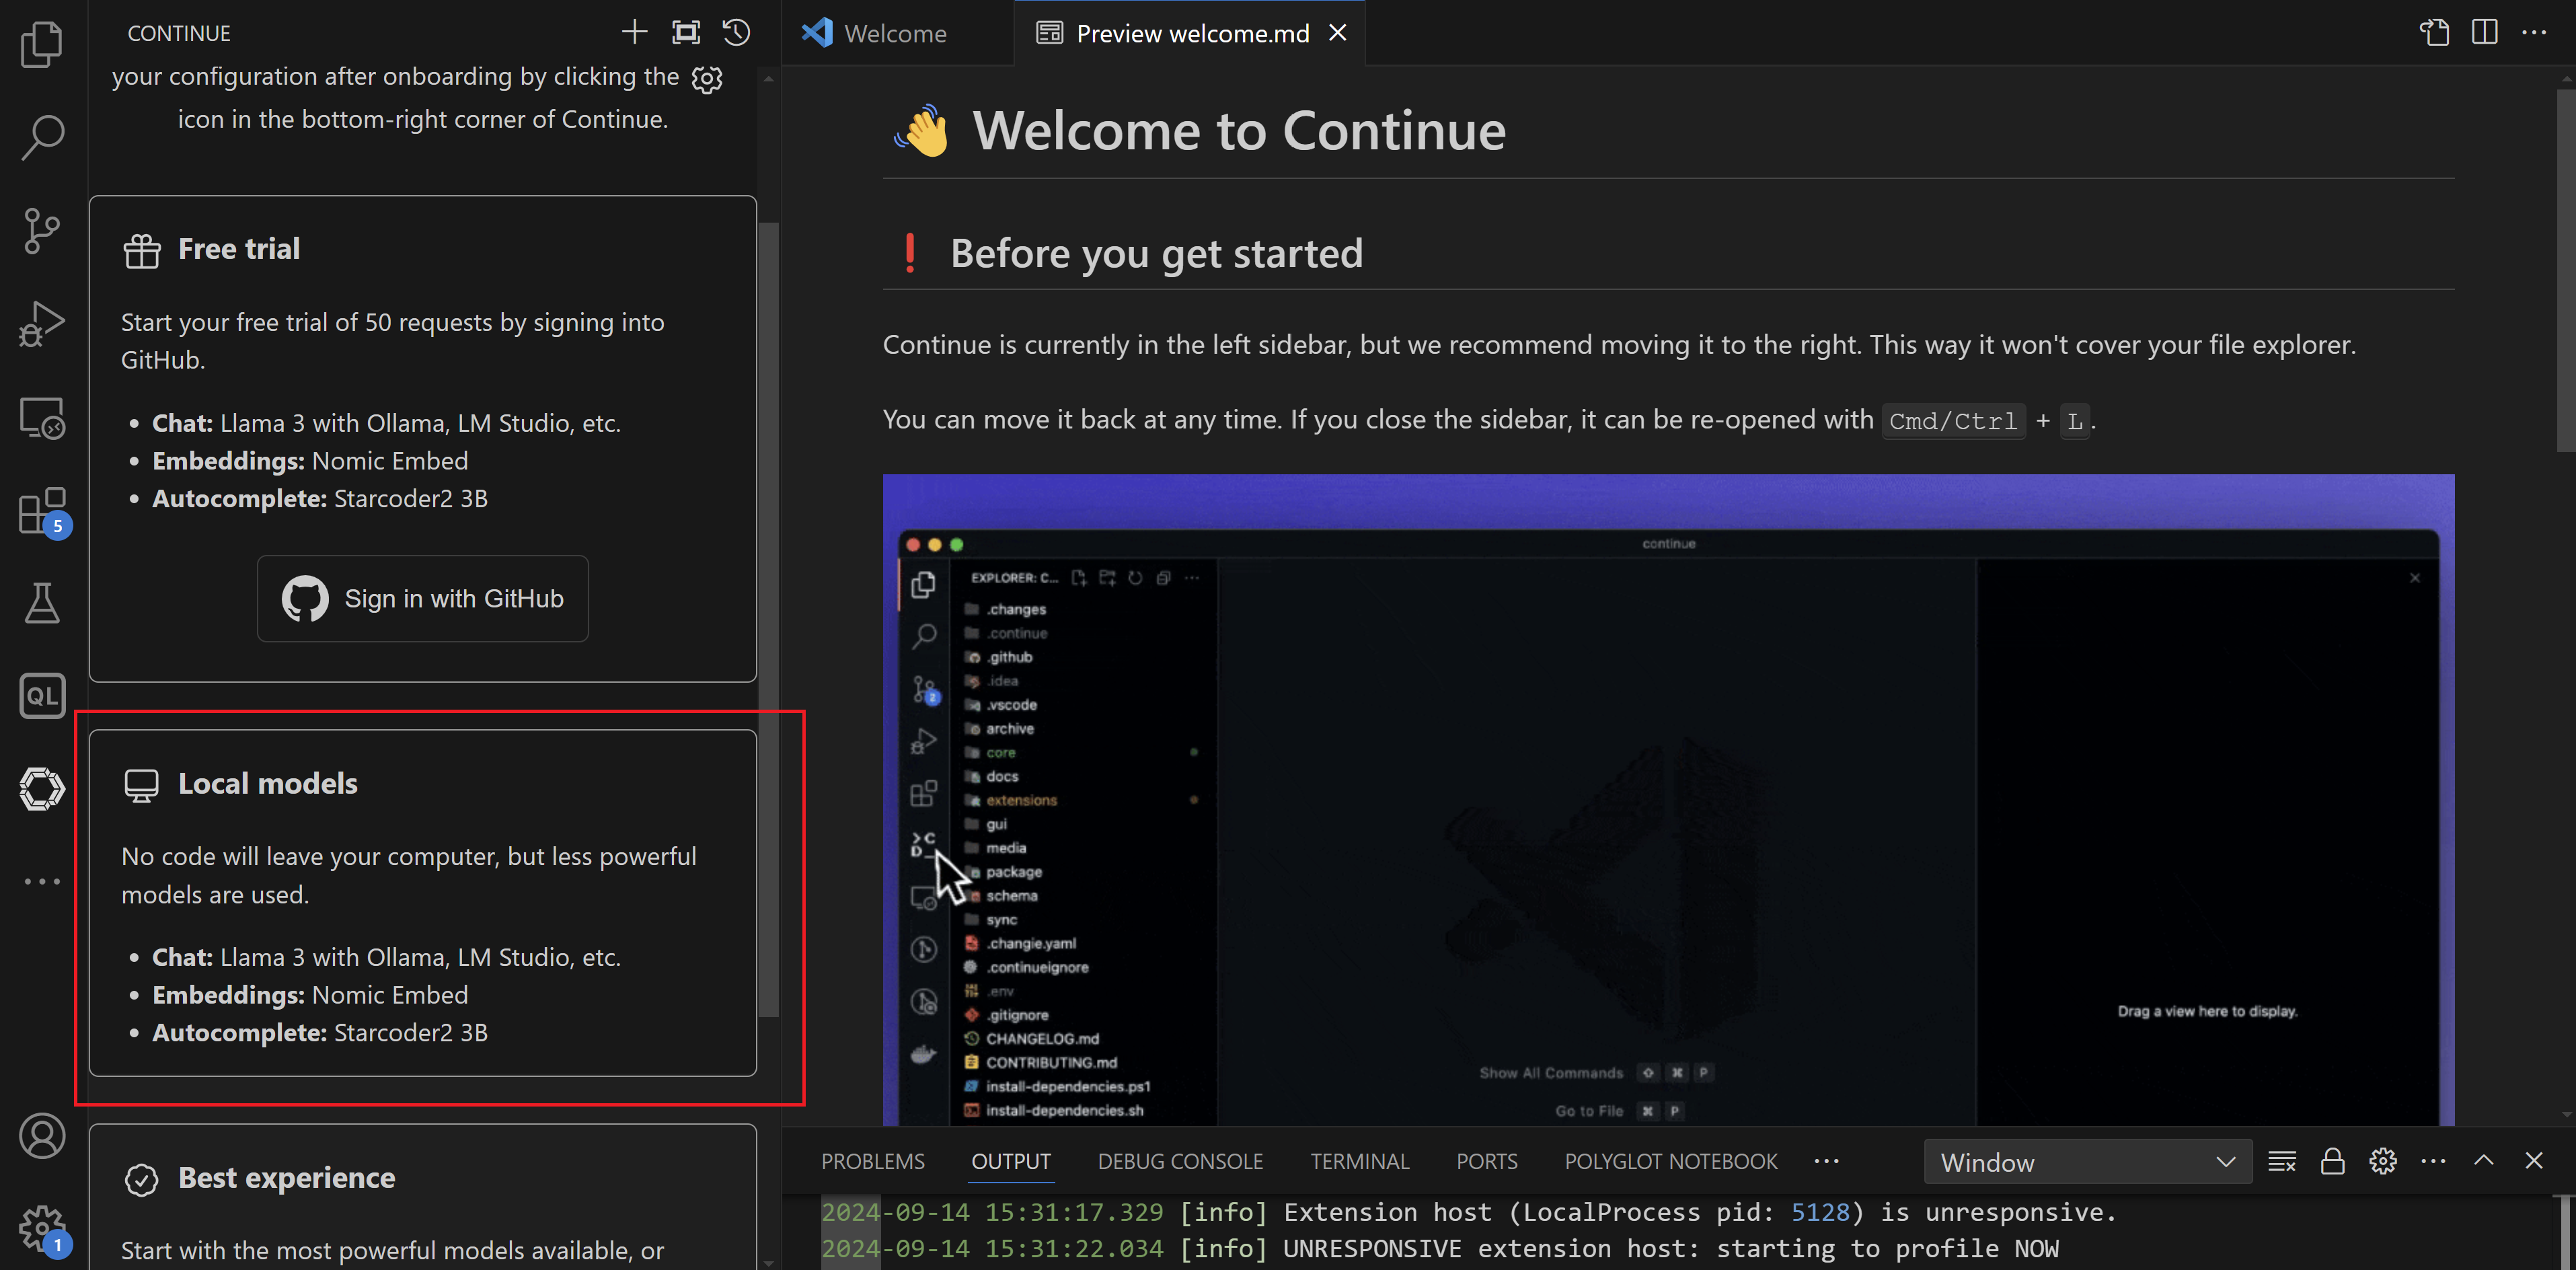
- After the installation has completed, you get a welcome page. Here you can also select a configuration. Choose the Local Models option and click on Continue:
- On the next page, it helps you to set up your local LLM using Ollama. I already had Ollama installed and some models available, so I completed the process by clicking on Complete onboarding:
- It is also recommended to move Continue from the left sidebar to the right so that we can keep using the file explorer at the same time:
Let’s give Continue a try
Start by opening a codebase in VSCode.
Let’s first try to ask some information about our code. Highlight a specific piece of code and hit CTRL-L. The code becomes part of the chat window and we can now ask questions about it:
Cool! Let’s now see the autocomplete in action. Put the cursor somewhere in your code and hit TAB:
That’s a good start!
In a next post, we dive deeper in some of the other options that Continue has to offer.
More information
An entirely open-source AI code assistant inside your editor · Ollama Blog


