Yesterday I showed you how to create a new release in Github manually. This was a good starting point as it introduced the different elements of a release and the options we have. Today let us automate the process of creating a release on GitHub using GitHub Actions.
Create a new release using Github Actions
- Go to Actions inside Github and click on new workflow.
- We’ll not use an existing template but instead choose to setup the workflow ourself:
- Paste the following yaml content in the editor screen. I’ll explain it afterwards…
Explanation of the Workflow
-
name:This is the name of your workflow. You can name it something like "Release". -
on:Specifies the event that will trigger the workflow. In this case, it’s triggered by apushto a tag that matches the patternv*.*.*(e.g.,v1.0.0). -
jobs:This defines the job that will be run by the workflow. -
runs-on:Specifies the environment where the job will run. In this case, it uses the latest Windows environment. -
steps:This section lists the steps the job will take. I’ll focus on the actions specific for the release-
actions/checkout@v4:Checks out the repository's code so that the workflow can access it. -
actions/create-release@v1:This action is used to create the release. It uses theGITHUB_TOKENsecret to authenticate with GitHub. The release is named after the tag and includes a basic description. Thedraftandprereleaseoptions can be set totrueif you want the release to be a draft or a pre-release. -
actions/upload-release-asset@v1:This action uploads assets (like compiled binaries, zipped files, etc.) to the release. Theupload_urlis provided by the previous step where the release was created.
-
Trigger the workflow
The workflow is set to trigger on a tag push that matches the pattern v*.*.*. Create a new tag and push it to trigger the workflow.
I can do this through the commandline:
git tag v1.0.0
git push origin v1.0.0
Or if you prefer a GUI, you can use for example Github Desktop:
- Go to the History tab to see the latest commits:
- Right click on a commit and choose Create tag:
- Specify a tag name using the v*.*.* pattern
- Now we have one change that we should push to our remote origin:
The Github Actions workflow should pick up this change and start the release pipeline:
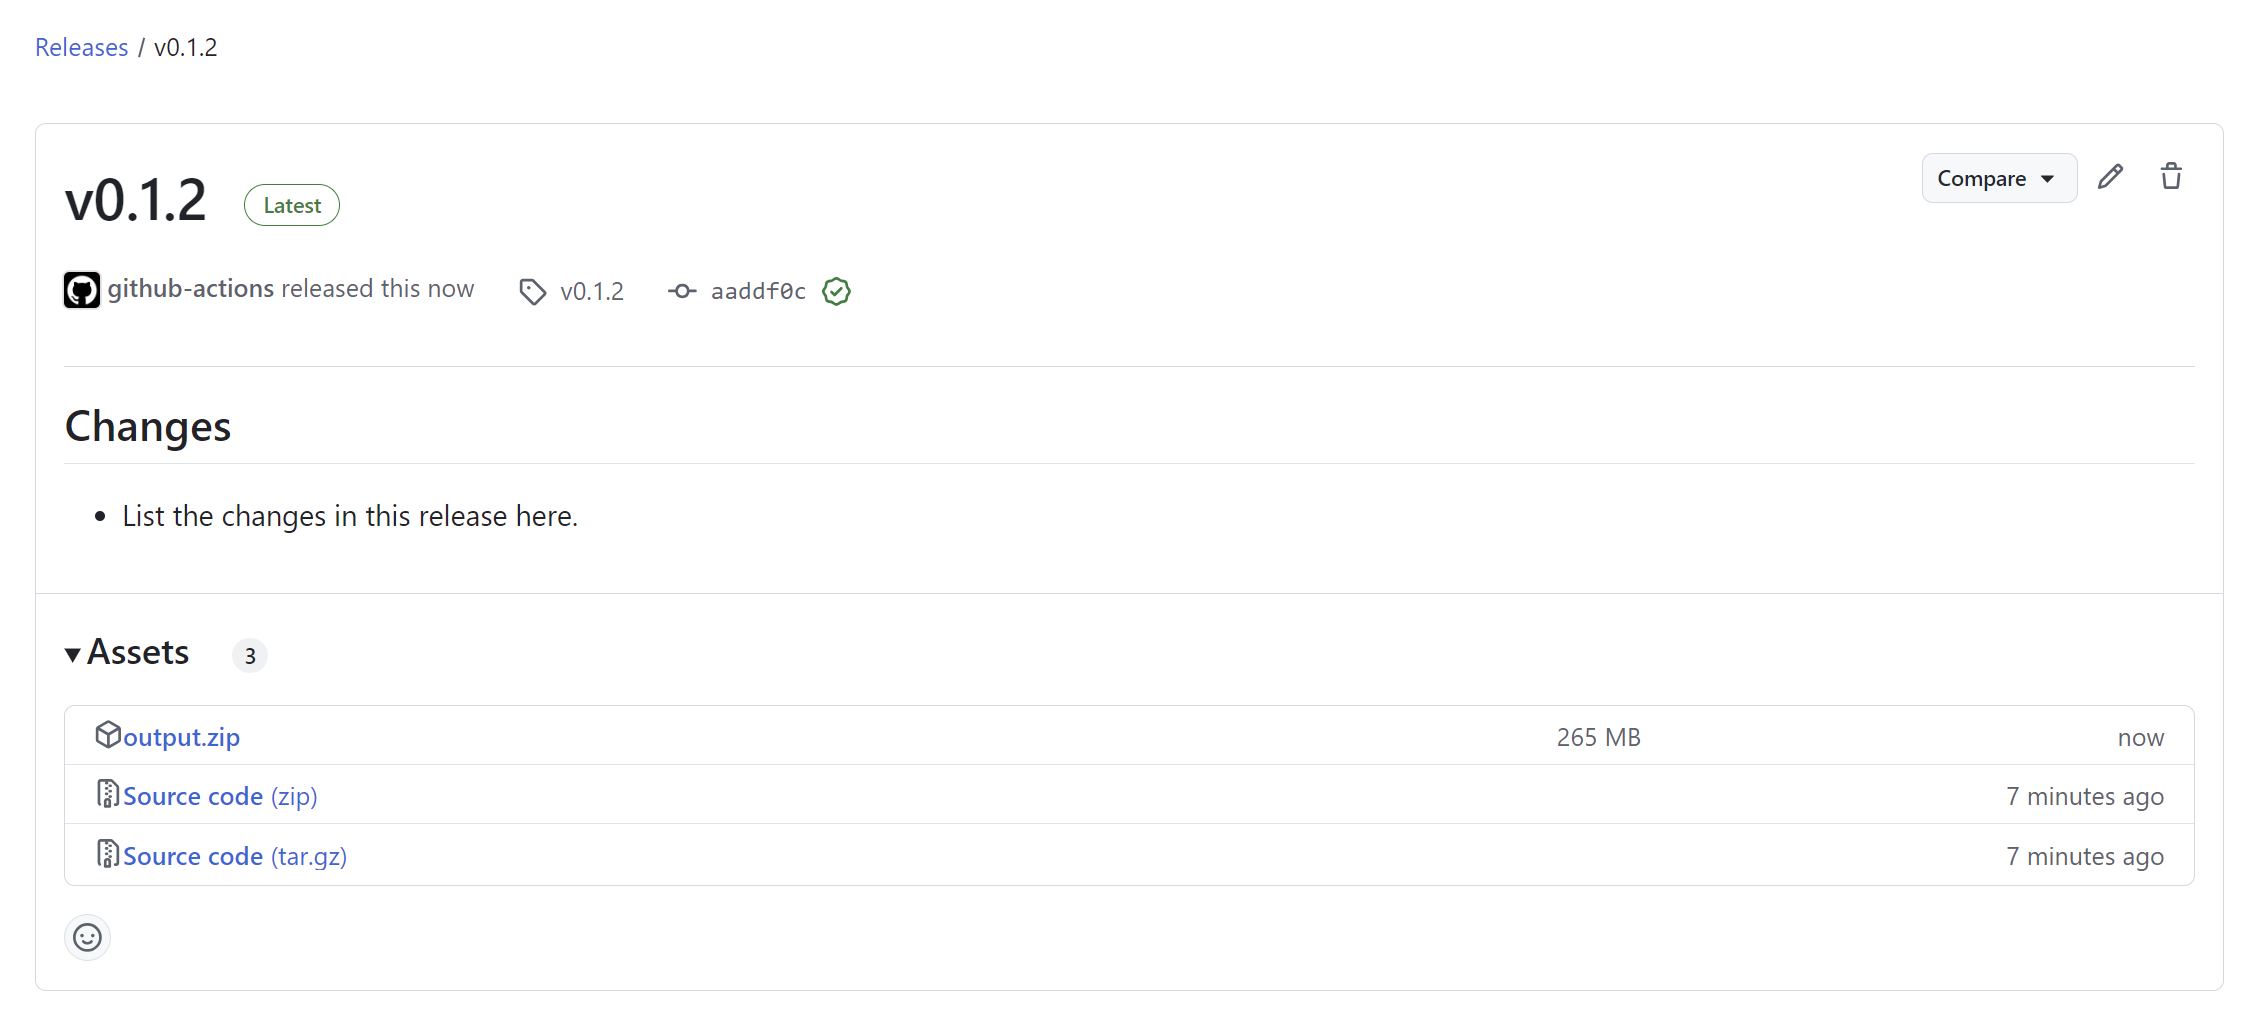
Once completed we have a brand new release available:
Nice!
Remark: We can further improve this by automatically generating the release notes but that is something I’ll leave for another post.


