
Visual Studio Dev Tunnels

Today I want to talk about a great feature in Visual Studio 2022; dev tunnels (originally called port tunneling/forwarding). It allows you to create an ad-hoc connection from your local machine to the internet. This means that an ASP.NET Core project (or Azure Function) running locally on localhost can be made accessible to any device with an internet connection.

Some use cases:

  • Developing an API that is consumed by Power Platform.
  • Developing a web hook for an external service.
  • Testing a web app on an external device.

Let me show you how to start using this feature in Visual Studio.

Create a Dev Tunnel

  • Open Visual Studio 2022
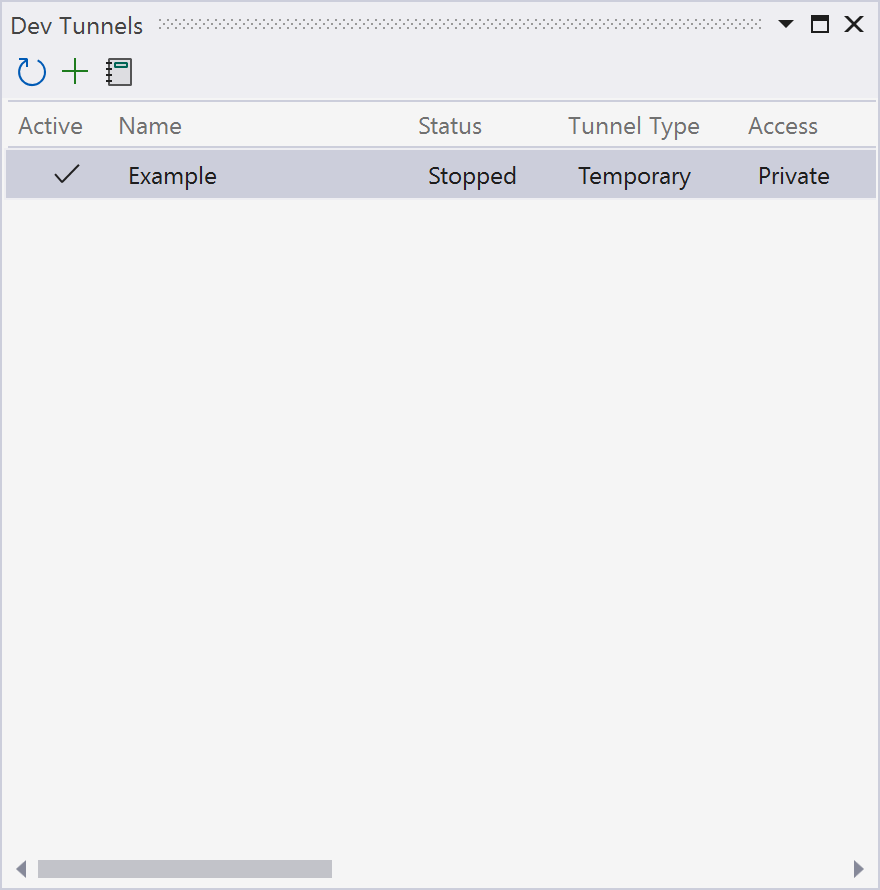
  • Go to Views –> Other Windows –> Dev Tunnels. This will load the Dev Tunnels window.
  • Click on the + sign to create a new Dev Tunnel.
  • On the Create window, you need to specify the following
    • Account: Choose the account that will be used to create the tunnel
    • Name: This is the name that is used to show it in the list of available tunnels
    • Tunnel Type: Choose the lifetime of the tunnel. A persistent tunnel will reuse the same URL whereas a temporary tunnel will use a new URL each time Visual Studio is restarted.
    • Access: Decide who can access this tunnel. Private makes it only accessible to the account you are using, Organizational will limit access to people inside your organization and Public makes it available to everyone(not recommended).

  • Click on OK to create the tunnel. If creation is successful, you should get a message and the tunnel becomes available


Using the Dev Tunnel

  • Create a new ASP.NET Core project or open an existing one
  • Click on the arrow icon next to the Run button and select the created dev tunnel(if not selected yet)


  • Now click on the Run button
  • After authenticating, you get a warning that you are about to connect through a dev tunnel the first time you try to use it. Click on Continue


  • Now the website is available on a public URL


Popular posts from this blog

.NET 8–Keyed/Named Services

A feature that a lot of IoC container libraries support but that was missing in the default DI container provided by Microsoft is the support for Keyed or Named Services. This feature allows you to register the same type multiple times using different names, allowing you to resolve a specific instance based on the circumstances. Although there is some controversy if supporting this feature is a good idea or not, it certainly can be handy. To support this feature a new interface IKeyedServiceProvider got introduced in .NET 8 providing 2 new methods on our ServiceProvider instance: object? GetKeyedService(Type serviceType, object? serviceKey); object GetRequiredKeyedService(Type serviceType, object? serviceKey); To use it, we need to register our service using one of the new extension methods: Resolving the service can be done either through the FromKeyedServices attribute: or by injecting the IKeyedServiceProvider interface and calling the GetRequiredKeyedServic...

Azure DevOps/ GitHub emoji

I’m really bad at remembering emoji’s. So here is cheat sheet with all emoji’s that can be used in tools that support the github emoji markdown markup: All credits go to rcaviers who created this list.

Kubernetes–Limit your environmental impact

Reducing the carbon footprint and CO2 emission of our (cloud) workloads, is a responsibility of all of us. If you are running a Kubernetes cluster, have a look at Kube-Green . kube-green is a simple Kubernetes operator that automatically shuts down (some of) your pods when you don't need them. A single pod produces about 11 Kg CO2eq per year( here the calculation). Reason enough to give it a try! Installing kube-green in your cluster The easiest way to install the operator in your cluster is through kubectl. We first need to install a cert-manager: kubectl apply -f https://github.com/cert-manager/cert-manager/releases/download/v1.14.5/cert-manager.yaml Remark: Wait a minute before you continue as it can take some time before the cert-manager is up & running inside your cluster. Now we can install the kube-green operator: kubectl apply -f https://github.com/kube-green/kube-green/releases/latest/download/kube-green.yaml Now in the namespace where we want t...