I had to create a small personal website. As a big fan of the Jamstack, I like to use a static website generator like next.js, gatsby or hugo. Before I typically deployed this generated website on Azure Blob storage as a really cheap way to host a static website. But with the introduction of Azure Static Web Apps, it is time to give them a try…
Create a Gatsby static website
There is a large list of available website generators, but as I like GraphQL a lot, I decided to use Gatsby.
First install the gatsby cli:
npm install -g gatsby-cliNow you can create a new website on your local machine using one of the available themes:
npx gatsby new example-app https://github.com/LekoArts/gatsby-starter-portfolio-caraStore the website on Github
We need to store the code of our static website somewhere. This could be a Git repo on Azure DevOps, Github or any other Git enabled repository.
We’ll use Github in this example.
Create a new Github repository at https://github.com/new. Choose a repository name but don’t create a README.md or .gitignore file.

Open a command prompt and go to the website folder on your local machine ( example-app in my example).
Add the newly created Github repo as a remote origin:
git remote add origin https://github.com//example-app Let's push our code to the Github repo
git branch -M maingit push --set-upstream origin main
Create an Azure Static Web App
Almost there! We have finally arrived at the Azure part.
Go to the Azure portal at https://portal.azure.com. Click on ‘Create a resource’ at the top.
In the search field enter ‘Static Web App’ and hit <enter>. You’ll arrive at the following screen:
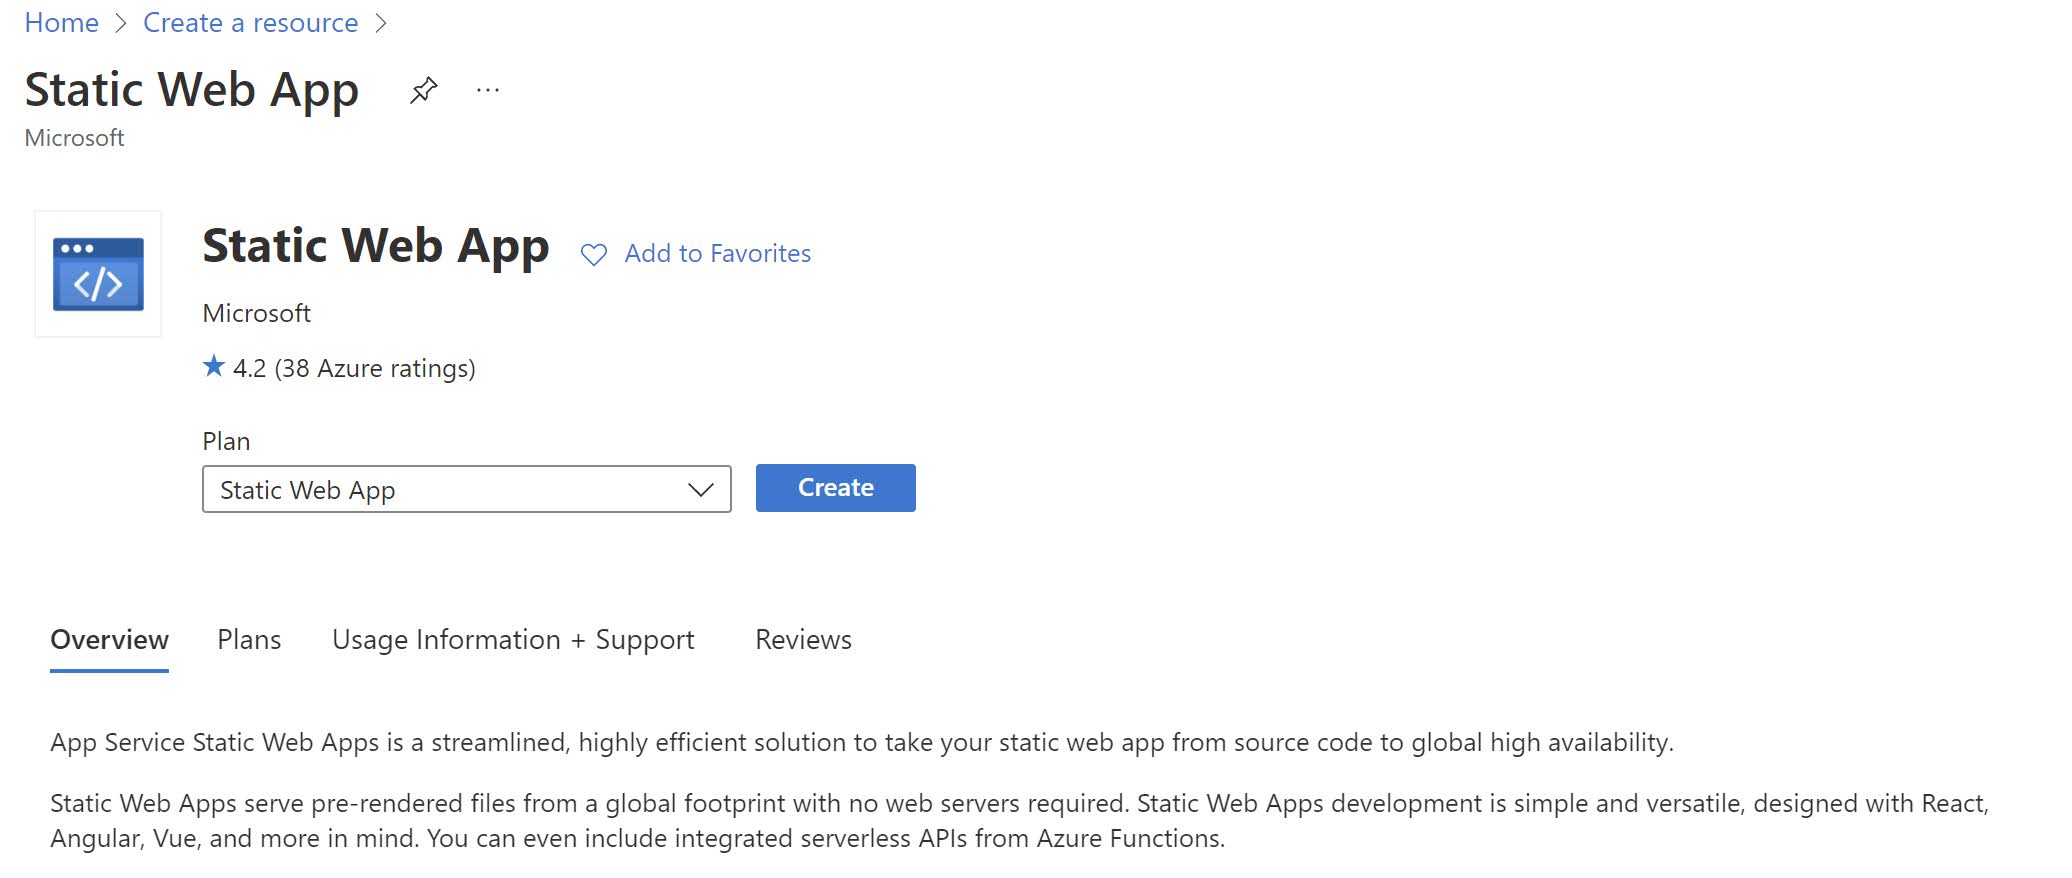
Click Create. Now you arrive at the creation screen where you have to enter a lot of details. Select a subscription and resource group and enter a name for your static web app. We choose the free tier and a region close to us.

As a last step we choose Github as our source. Now we need to authenticate with Github. Therefore click on Signin with Github to login with our Github credentials.
Click on Authorize Azure-App-Service-Static-Web-Apps to grant the necessary permissions to Azure to manipulate our Github repo.

Now we need the Github repository and branch that should be used.

As a last step we can select the Gatsby presets from the Build Presets menu. This will create a default Github Actions workflow for us.

Now click on Review+Create and Create to create our Azure Static Web App.
If you browse to the generated website, you will probably see something like this:

This is because Github Actions still need to deploy and generate the static web app.

Once the Github Actions workflow completes, our Gatsby site is there in all it’s glory:

More information: https://docs.microsoft.com/en-us/azure/static-web-apps/