TFS 2015: The 'System.Collections 4.0.10' package requires NuGet client version '3.0' or above, but the current NuGet version is '2.8.60318.667'.
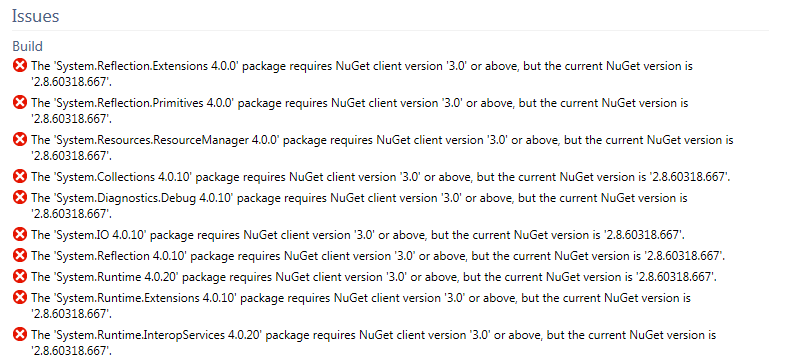
After upgrading an existing solution to the new build system in TFS 2015, the build failed with the following errors:
Here is how I solved it:
It seems that the build server tries to use the 'old' NuGet version instead of the newer 3.x version.The 'System.Reflection.Extensions 4.0.0' package requires NuGet client version '3.0' or above, but the current NuGet version is '2.8.60318.667'.The 'System.Reflection.Primitives 4.0.0' package requires NuGet client version '3.0' or above, but the current NuGet version is '2.8.60318.667'.The 'System.Resources.ResourceManager 4.0.0' package requires NuGet client version '3.0' or above, but the current NuGet version is '2.8.60318.667'.The 'System.Collections 4.0.10' package requires NuGet client version '3.0' or above, but the current NuGet version is '2.8.60318.667'.The 'System.Diagnostics.Debug 4.0.10' package requires NuGet client version '3.0' or above, but the current NuGet version is '2.8.60318.667'.The 'System.IO 4.0.10' package requires NuGet client version '3.0' or above, but the current NuGet version is '2.8.60318.667'.The 'System.Reflection 4.0.10' package requires NuGet client version '3.0' or above, but the current NuGet version is '2.8.60318.667'.The 'System.Runtime 4.0.20' package requires NuGet client version '3.0' or above, but the current NuGet version is '2.8.60318.667'.The 'System.Runtime.Extensions 4.0.10' package requires NuGet client version '3.0' or above, but the current NuGet version is '2.8.60318.667'.The 'System.Runtime.InteropServices 4.0.20' package requires NuGet client version '3.0' or above, but the current NuGet version is '2.8.60318.667'.
Here is how I solved it:
- Open your in Team Project in the TFS portal and click on the Build tab
- Edit the build definition by right clicking on the build and choose Edit... from the context menu
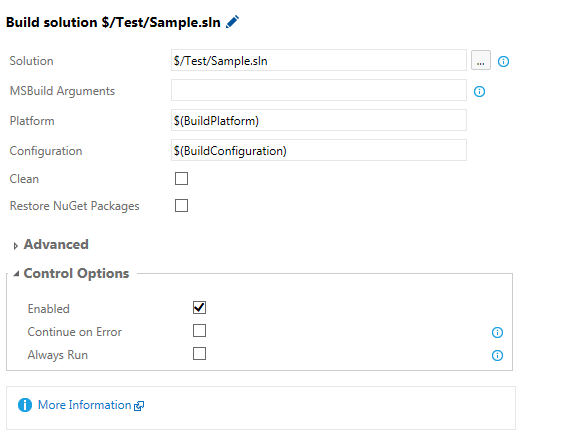
- Uncheck the 'Restore NuGet packages' checkbox in the Visual Studio Build step
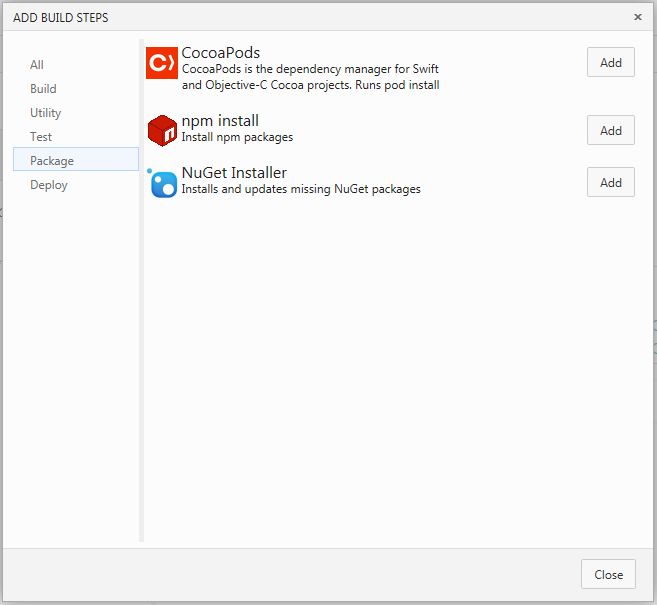
- Add a new step by clicking on the 'Add build step...' button. Choose the NuGet Installer step in the Package category and click Add. Place this step before the other steps.
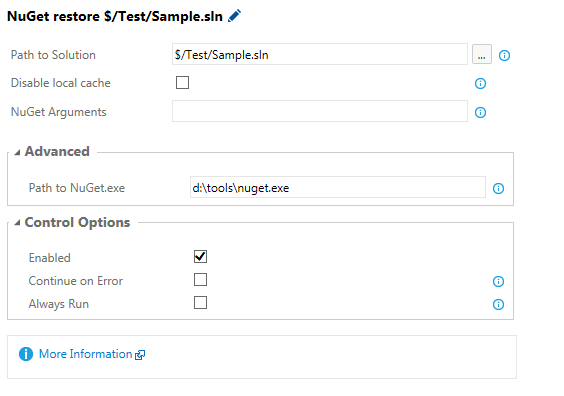
- Open the newly created step, go to the Advanced section and set the path to NuGet.exe(e.g. d:\tools\nuget.exe).
- Now login on the build server and download the NuGet distribution from https://dist.nuget.org/index.html. Place it on the location as specified in the step.
- That's it!